|
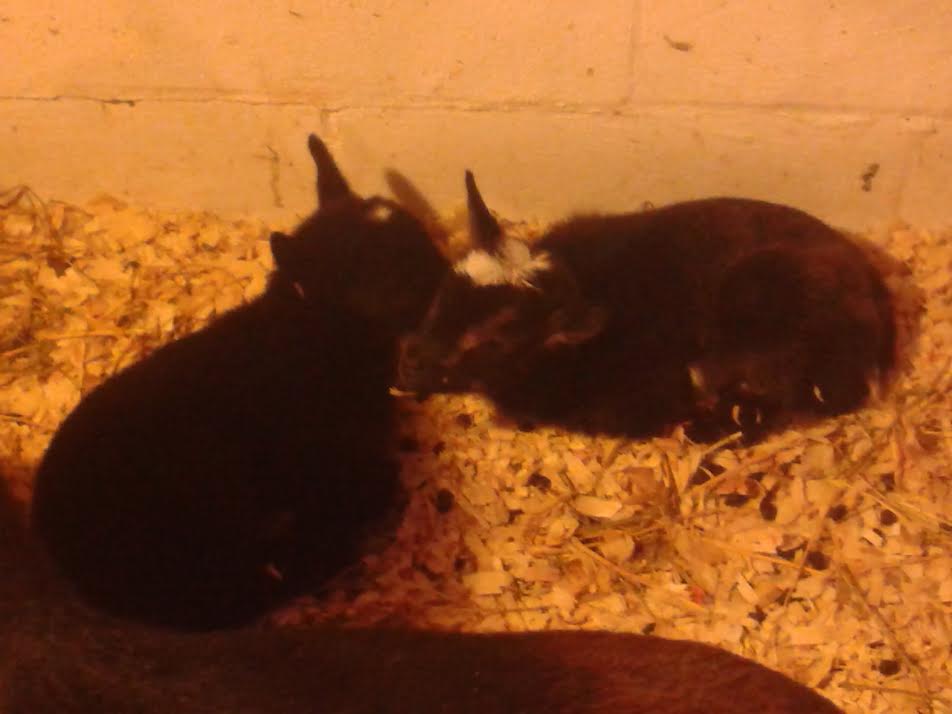
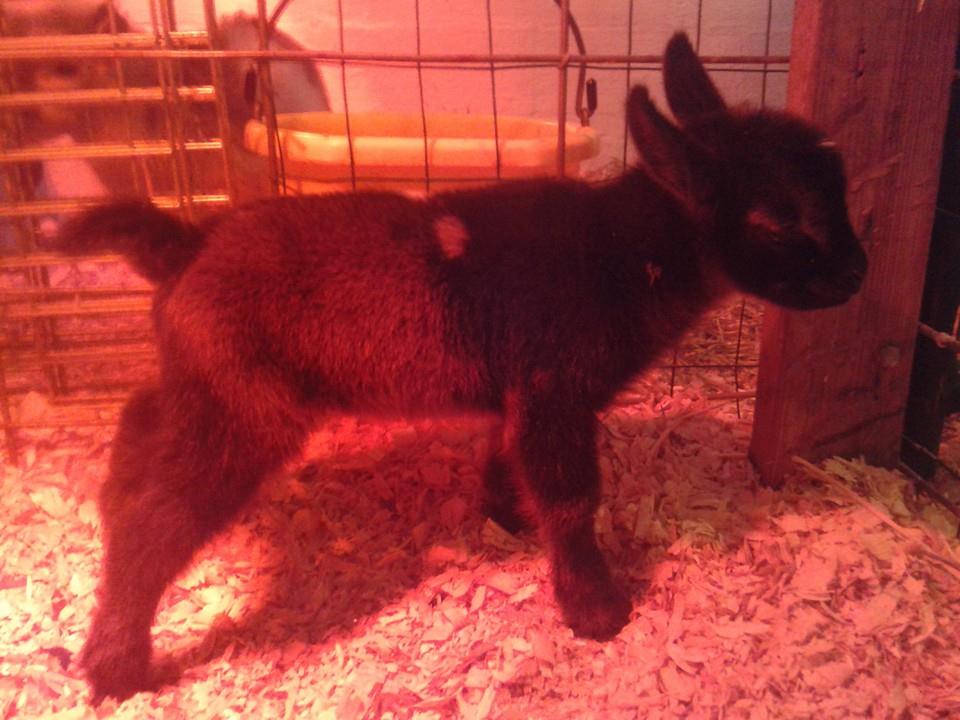
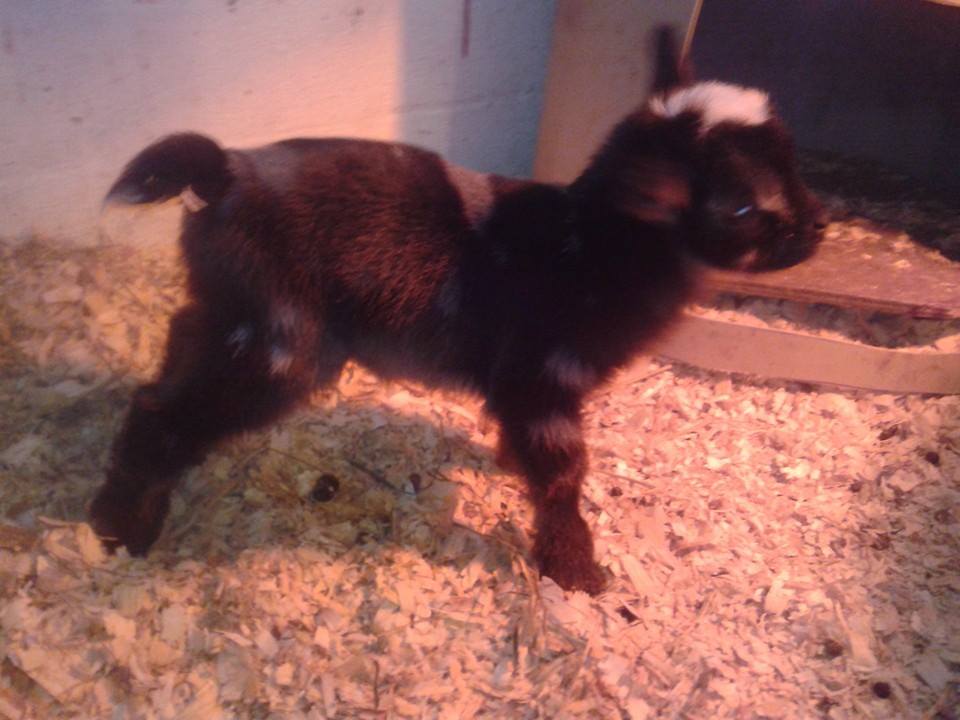
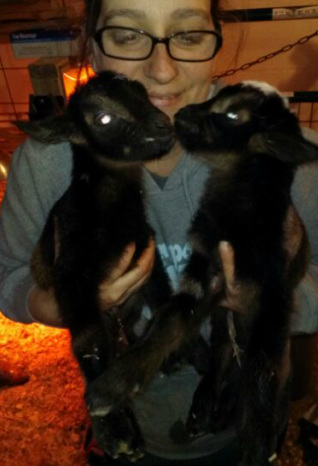
Early this morning, Jasper Pine SHH Trixie kidded with twin bucks sired by Helmstead Minis FF Scorch. The first is solid black with a white poll, and the second is a buckskin with a white poll and a white spot on his side. Both will be available as unregistered bucks or ADGA certified wethers. Names will be announced soon!
0 Comments
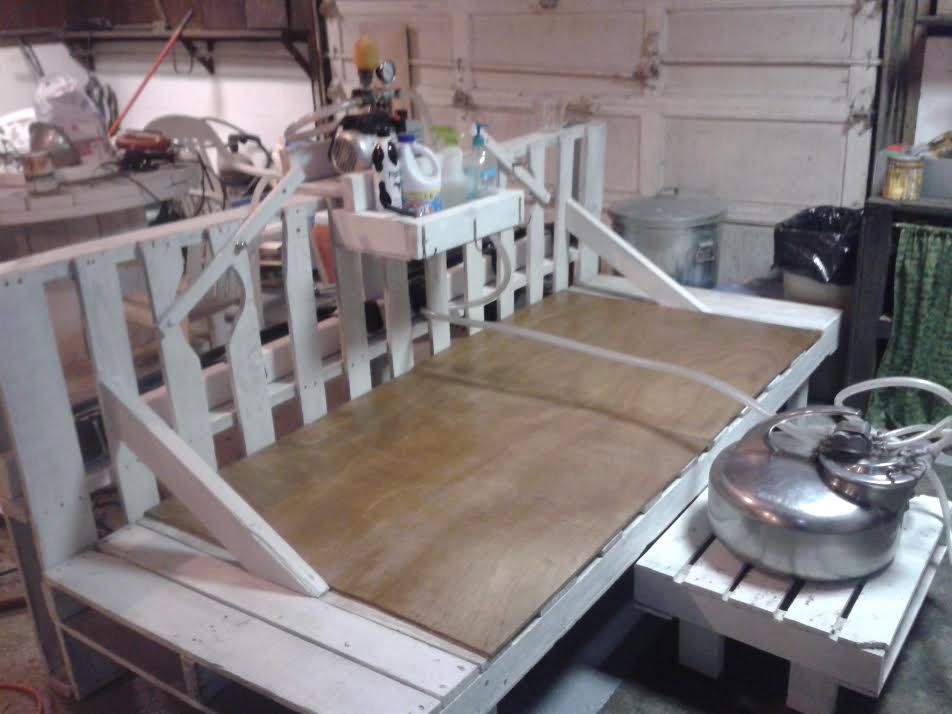
 Twin Willows is pleased to announce that we will be releasing AT LEAST TWO 2013 doe kids who were previously retained to our herd and offering them for sale at our Open House event. We made our final selections last night, and you will have to come see who we have chosen by visiting the farm on March 15, 2014. These does will not be advertised to the public and will only be offered to the attendees of our Open House Event. Discounts for 4H projects may be applied to these doe kids, and of course we will also have many quality wethers to chose from as well. The weather outside is frightful, but the fire in the barn was so delightful that we built a new two bay milking parlor! We re-purposed a futon frame that I had built last summer that was not getting much use (except by the dog!) and fashioned it into a deluxe milk parlor to milk two goats at a time. We still have a few tweeks to finish it, like slip proofing the bays and we are also waiting for some parts to be delivered for our milk machine to accommodate two does at a time. Come see our new milk parlor in full operation at our first annual Spring Open House being held March 15, 2014. Tickets are FREE! Reserve yours TODAY!
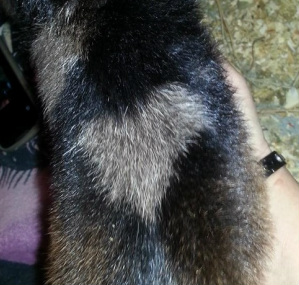
We are pleased to announce the names of our first 2014 babies! Two bucks out of Gypsy Moon SB Muse, sired by Helmstead Minis FF Scorch. Casanova is a very nice little buckling, and is so named because of the heart-shaped moonspot on his back. He is available as an unregistered buck or a certified wether. Check the FOR SALE page for details.
Last night Gypsy Moon SB Muse kidding with twin bucks, sired by Helmstead Minis FF Scorch. Both are moonspotted. These big boys weighed 4.2 lbs and 4.8 lbs at birth and are happy and healthy. Mom is doing great. Names and availability will be posted soon!
Exciting things are happening at Twin Willows Farm! Our spring kidding season will kick off this week as our first 2014 babies will soon be arriving. Kidding season is a very exciting time, and we are anxious to see what's in those big baby bellies!
For the past three years, we have enjoyed attending open dairy goat shows, and we have had some exciting wins with our animals. This year we have decided to pare down our show schedule, and we will be focusing more on production aspects of goat keeping. Our breeding stock is currently in the process of being dual registered with AGS (American Goat Society) so that our herd may participate in the AGS Classification program. This will enable each individual animal in our herd to be assigned a score based on the ideal dairy goat. We are really looking forward to learning more about each individual animal and our herd as a whole. We have also entered our herd into the ADGA 305 day Standard milk production program, and we will be holding our first test of the year in a couple of weeks. This DHIR (Dairy Herd Improvement for the Registry) program consists of monthly production testing on all does who are lactating. The milk produced by each doe in a 24 hour period is weighed and sampled, and that sample is sent to the lab to be evaluated for content and quality. The program helps us to learn more about our animals, to plan for the future, and contributes to the advancement of the breed as a whole. We will be very busy in the next couple of weeks as our spring babies are born. And just as our spring kidding schedule completes, we will be holding our first annual Spring Open House! This is an event that we hope to hold every year, and it gives the public a chance to visit the farm, meet the new babies, and learn about different aspects of goat keeping, and have FUN! Have you reserved your FREE tickets yet?? For the launch of Think Tank, I have added three initial research projects to the forums.
The first project is the replication of the yellow bucket project. It can be found in the Behavioral Research Forum. This is a fun experiment to see if your goats have a preference for color. I proved the yellow preference in my herd, but I need more herds to duplicate the study to strengthen the evidence. The second project is a study in Goat Gestation and can be found in the Genetics & Breeding Forum. It's a simple quantitative study that records the length of gestation, breed and freshening number of does (1st, 2nd, 3rd, etc.). Goat gestation is 145 to 155 days with the average being 150 days. The reason for this study is to analyze variations of gestation based on breed and freshening number. The third project I have added to the forum is in regard to predicting the sex of kids by smelling the poll of the dam prior to freshening. It can also be found in the Genetics & Breeding Forum. I hope you will check out these three exciting projects. If you have a project you would like to share, feel free to add it to the forum! To visit, navigate to the research forums under "Caprine Think Tank" in the menu on the left side of this page. There is no sign up required to become a member of the forum, you can simply sign in with your Facebook account. I hope to see you there! I have always wondered why my herd seemed to prefer to drink their water out of yellow buckets. I thought it might just be a coincidence until a fellow Nigi breeder mentioned that he also thought his herd liked to drink out of yellow buckets. This prompted me to conduct a scientific study within my own herd to find out if they actually do prefer to drink out of yellow buckets. I used five different colored buckets and rotated their position in the stall, weighing each newly filled bucket, and recording the change in weight at the end of each data collection period. The results were startling! My goats preferred to drink water from the yellow bucket at a rate THREE TIMES the rate at which they drank from the next most popular colored bucket (which by the way was GREEN ) regardless of the position of the buckets in the stall. You may be asking yourself, "Who cares? Why does it matter which bucket your goats like to drink their water from?"
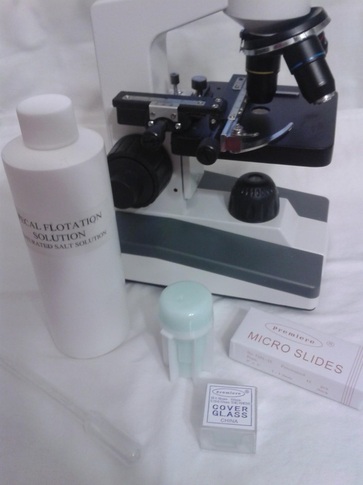
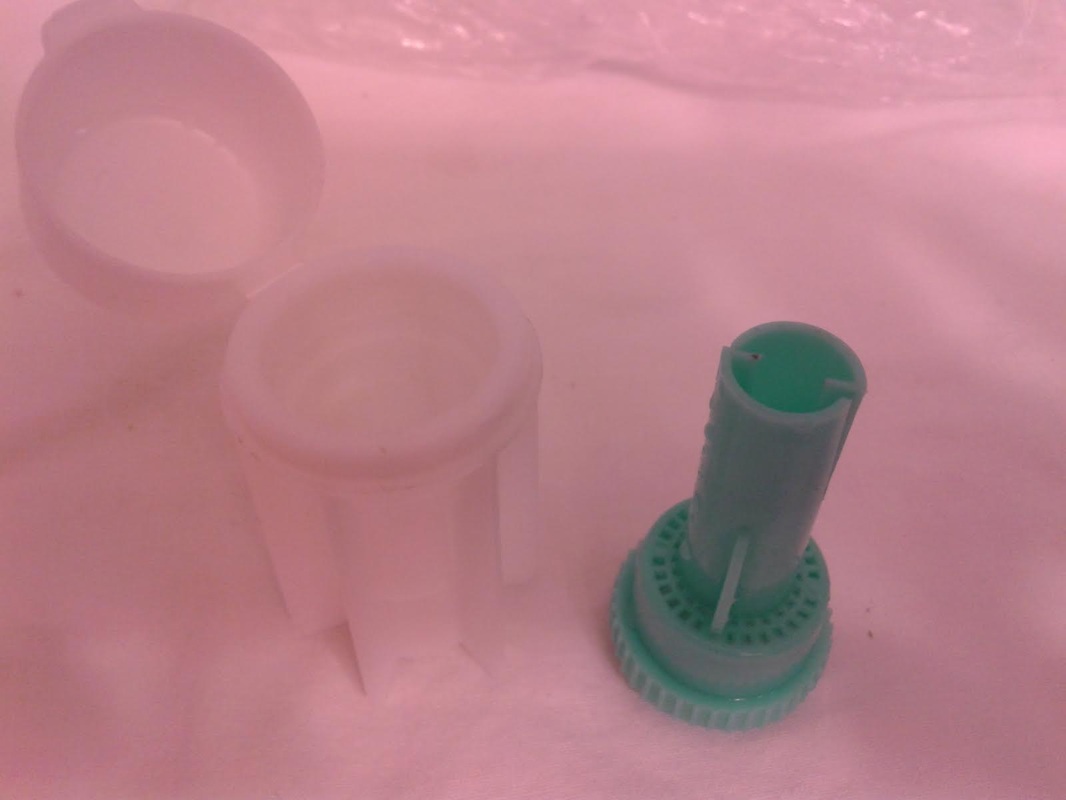
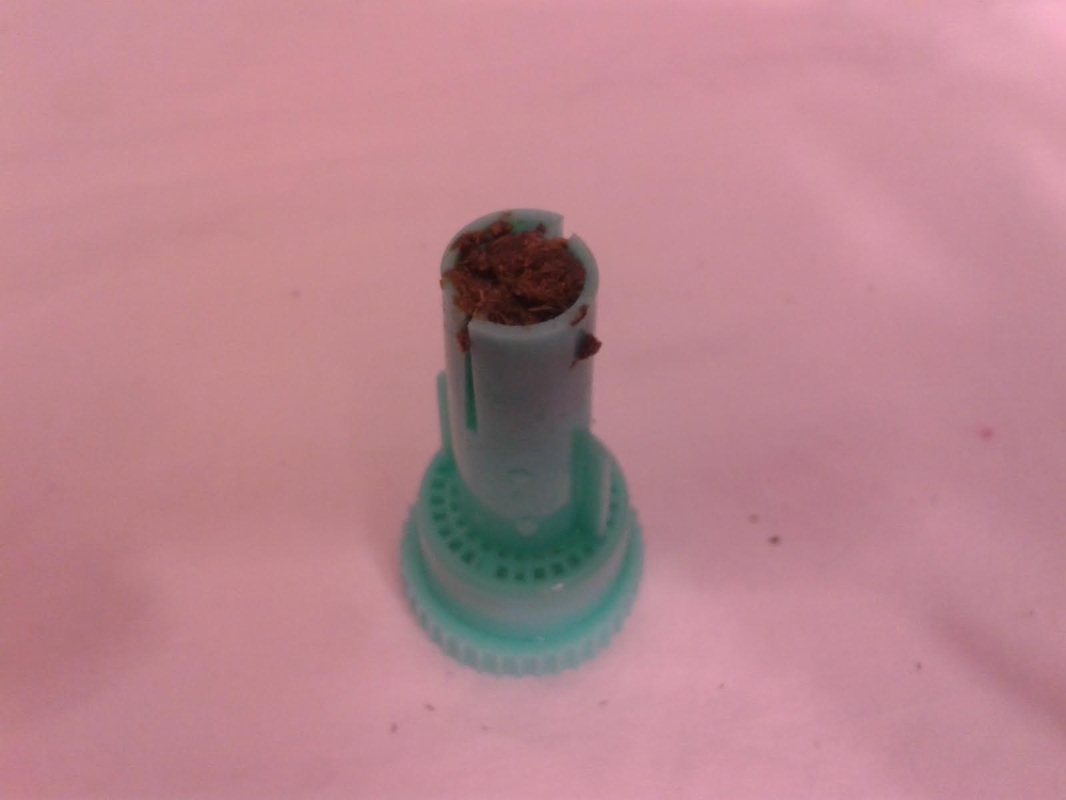
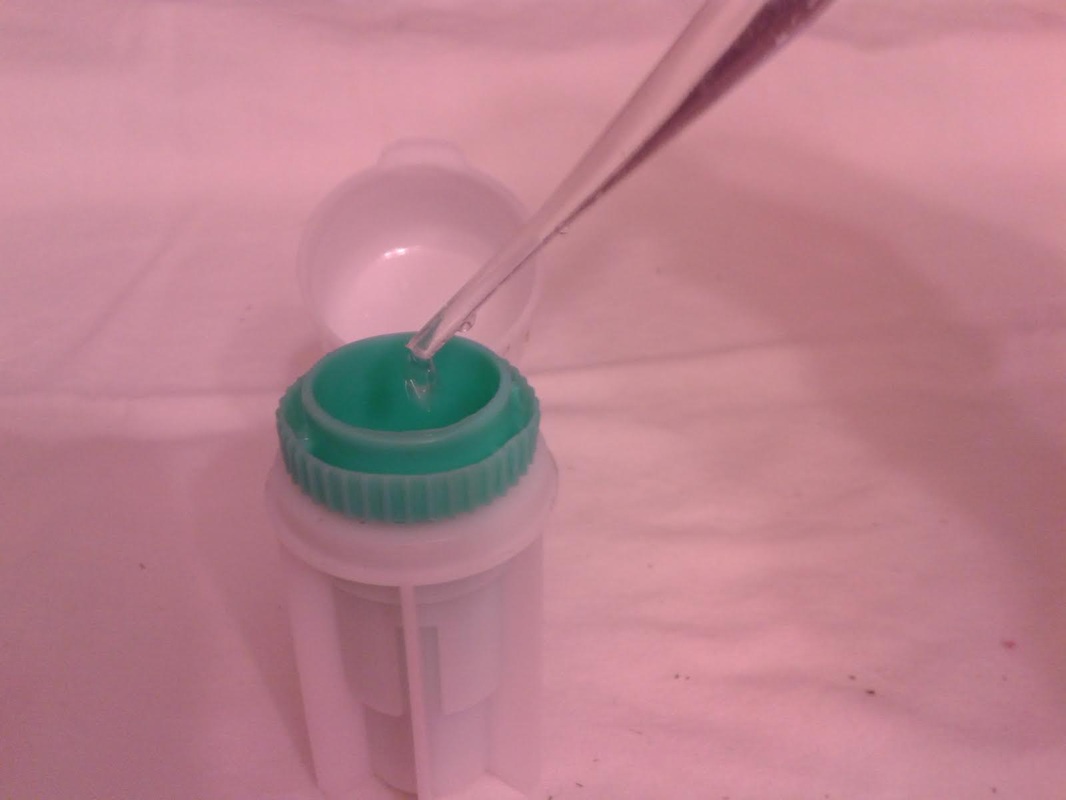
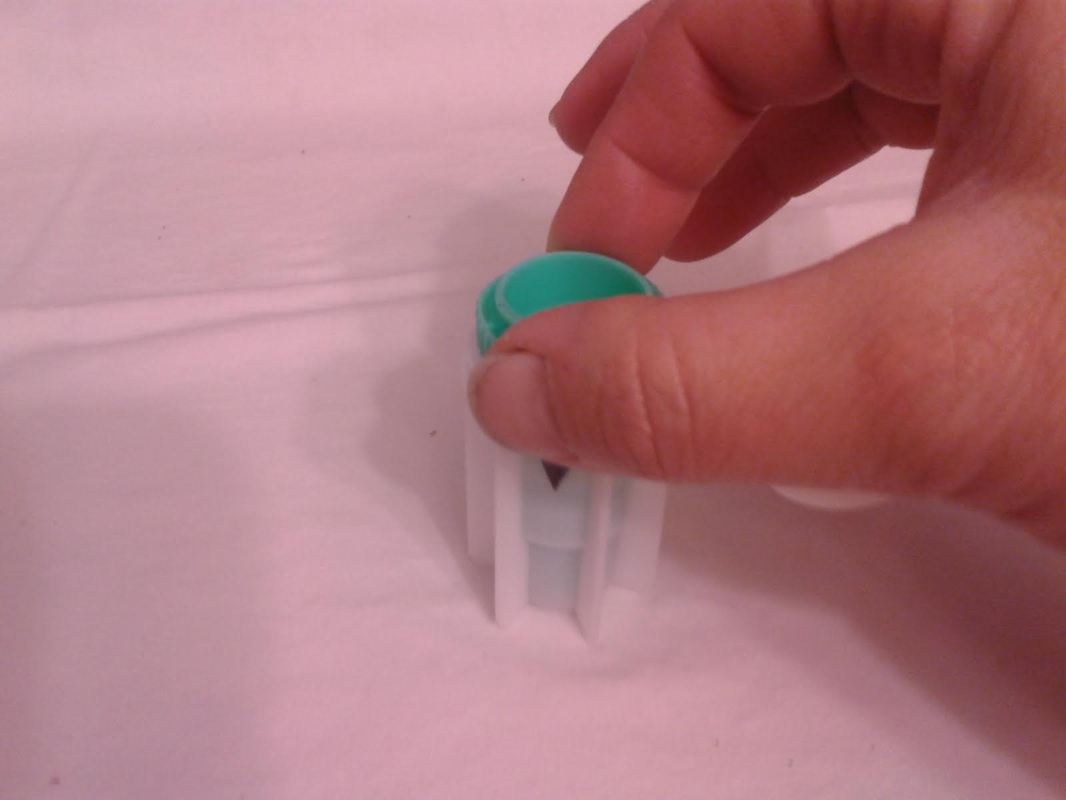
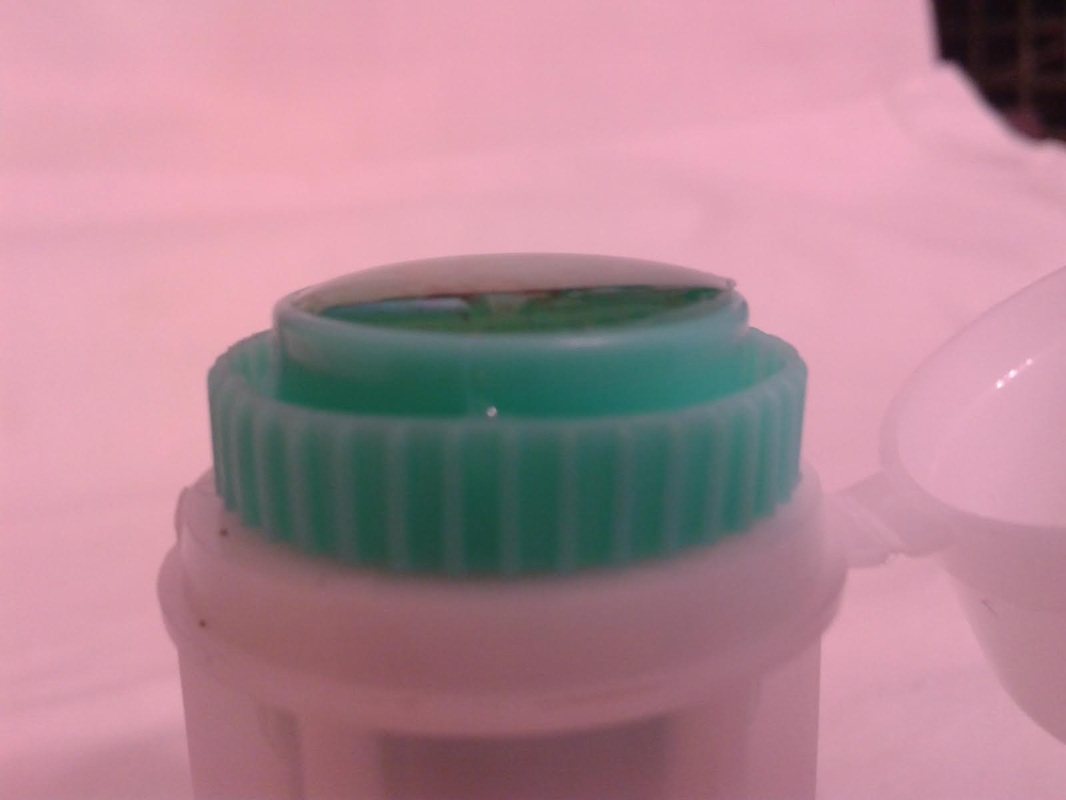
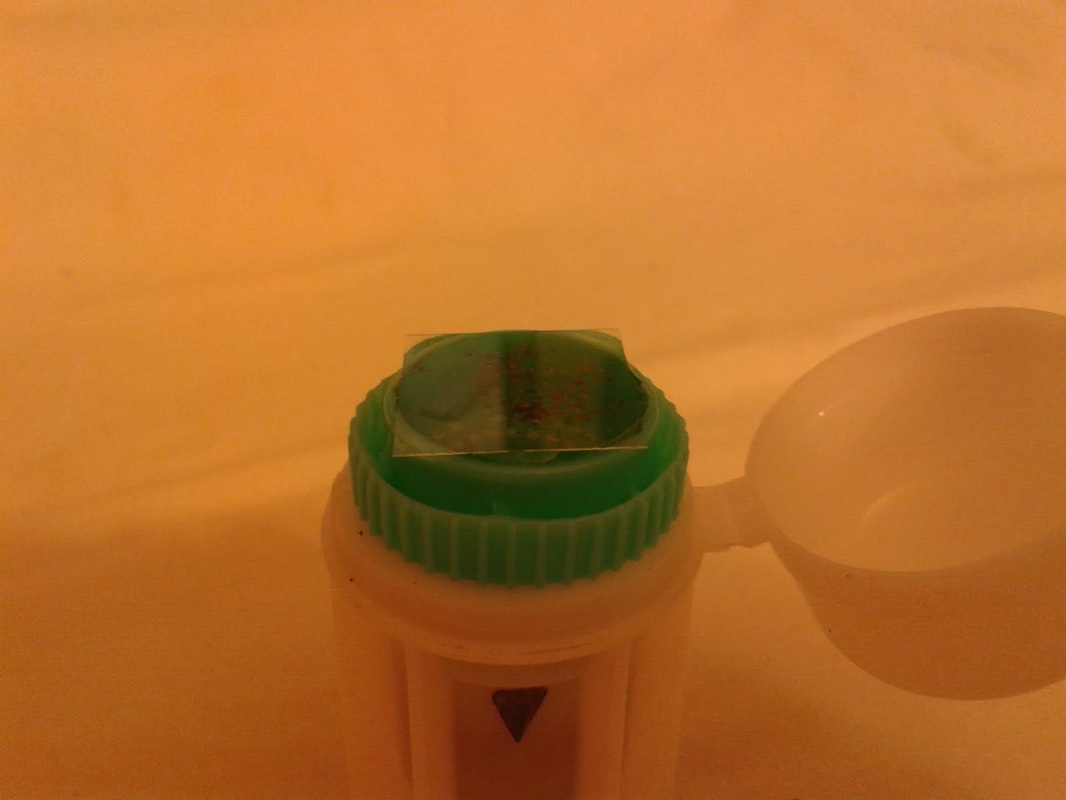
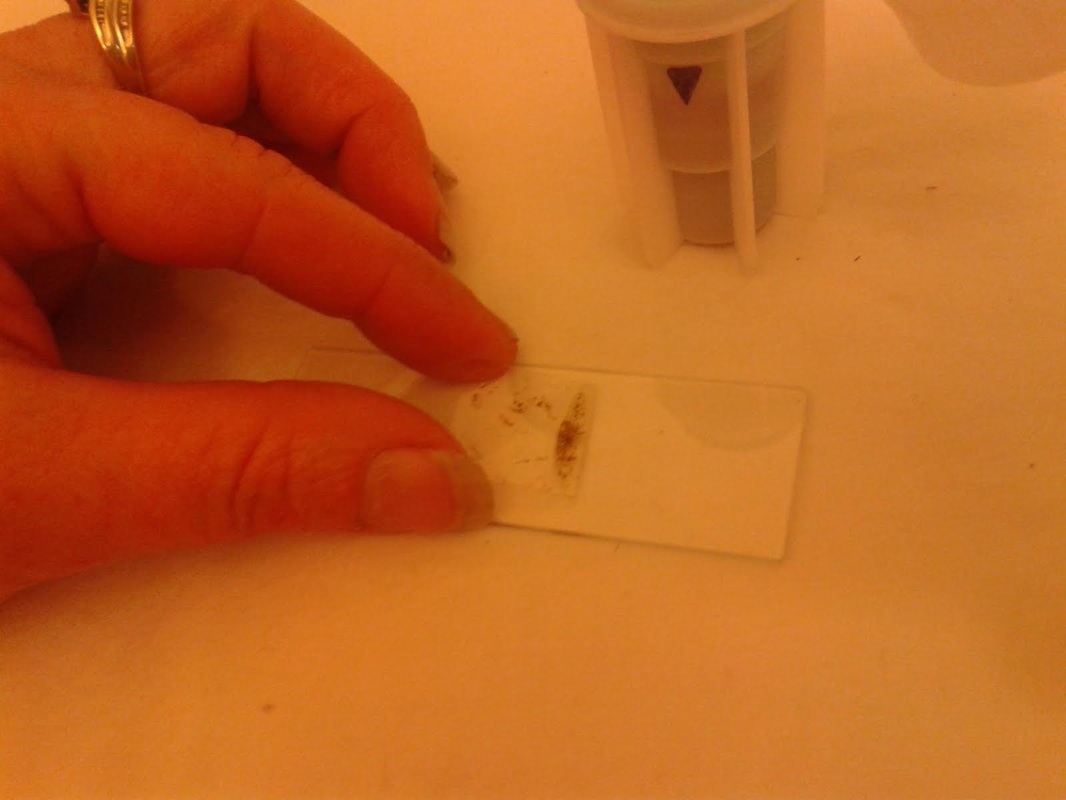
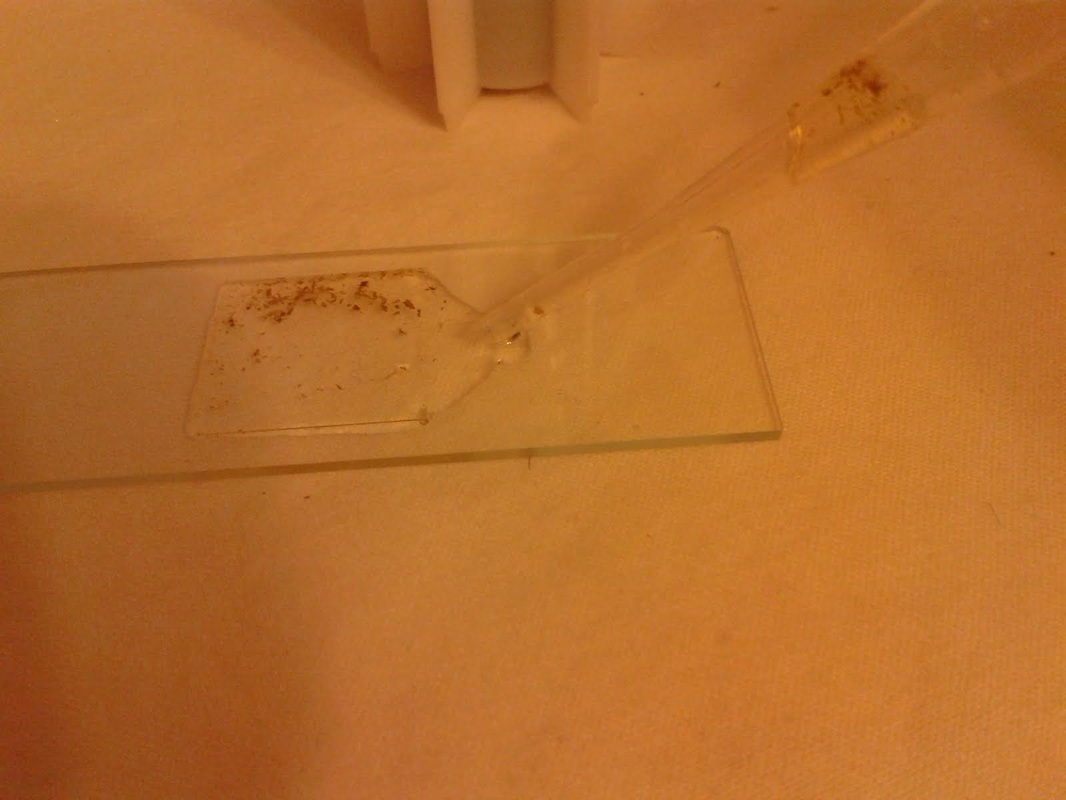
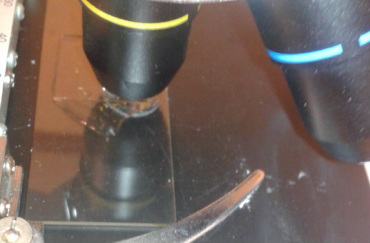
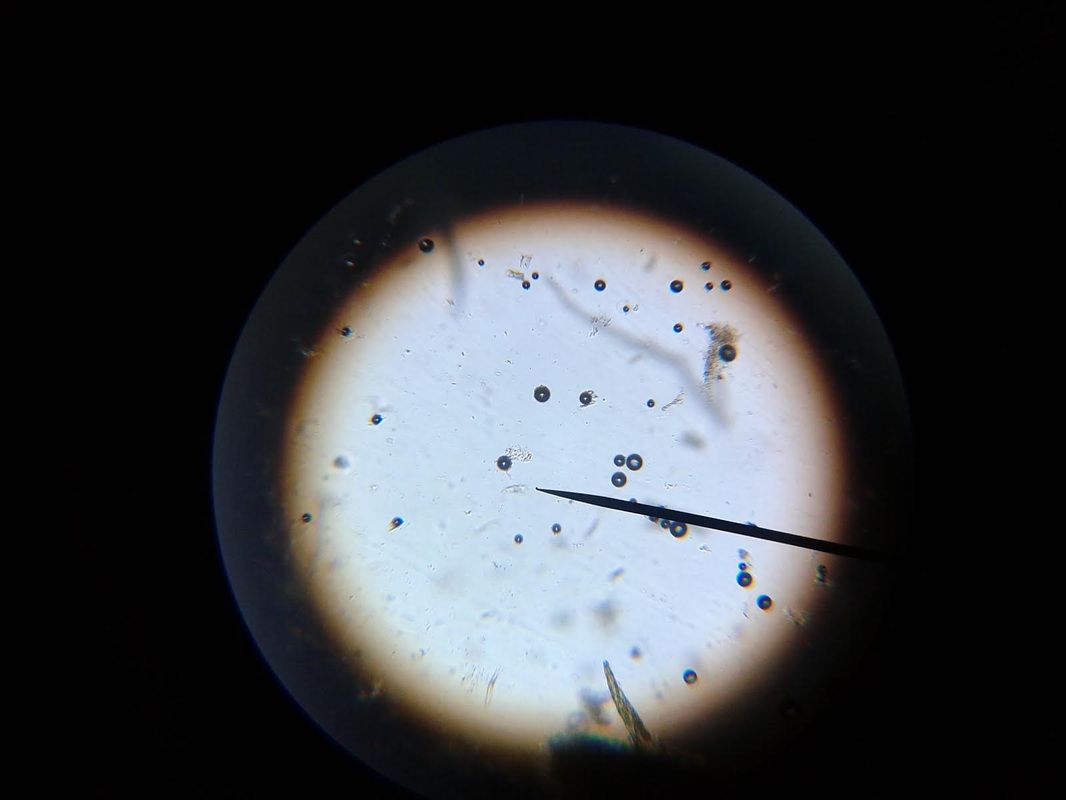
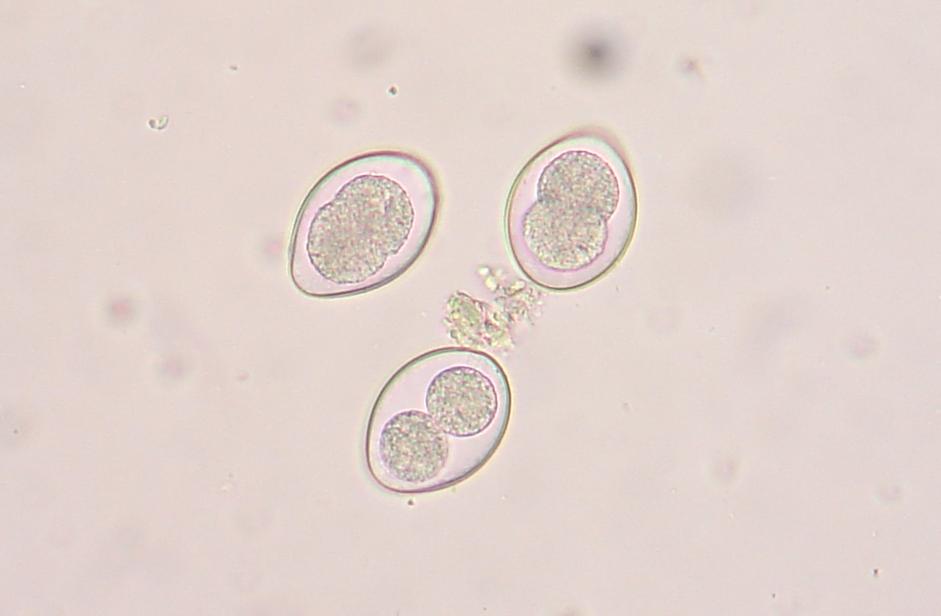
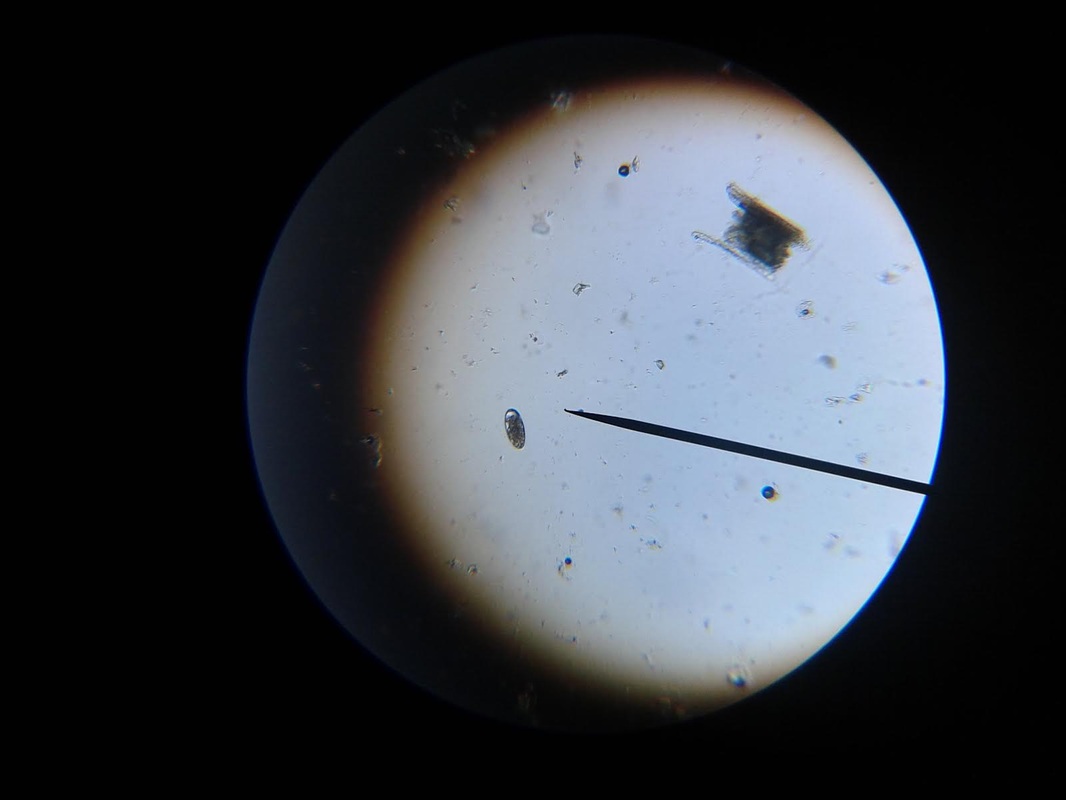
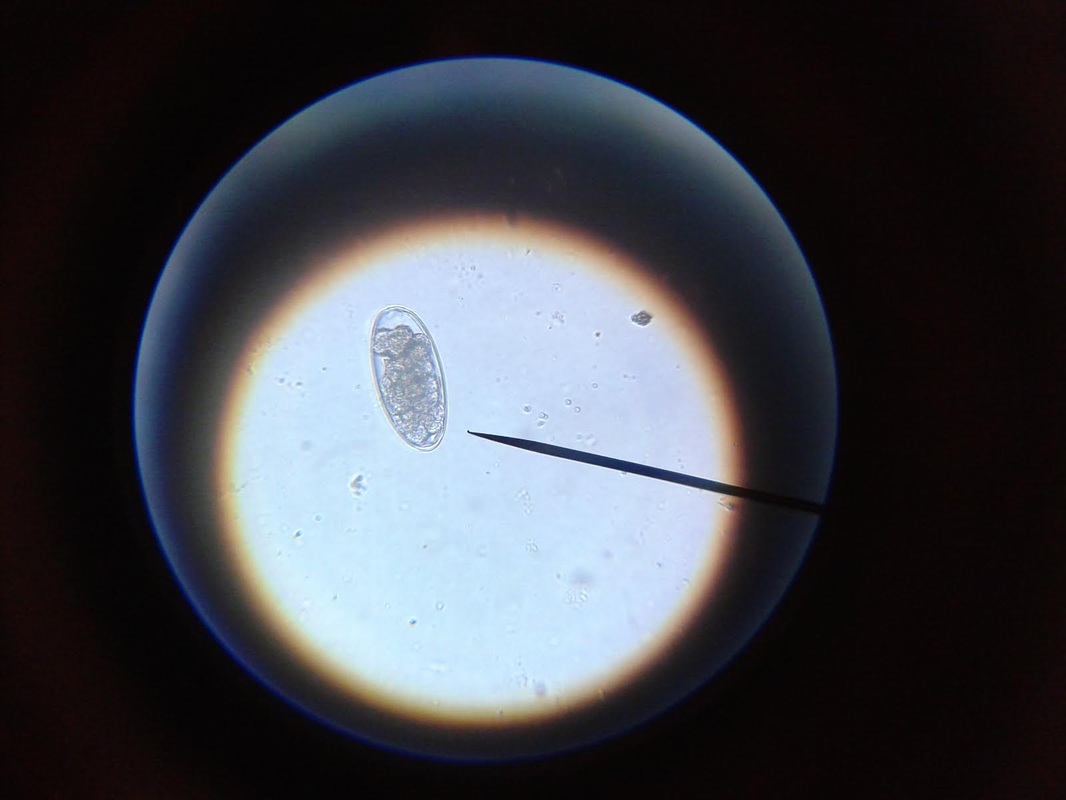
The primary purpose of any dairy goat is to make milk. To make milk, the doe needs water. The more water they drink, the more milk they can make. Paired with good quality roughage and grain, the dairy doe will have all of the ingredients she needs to maximize her milk production. Although I have proven the yellow bucket hypothesis on my farm, there is still work to be done, and questions to be asked. Just a few examples are: * Can this study be duplicated on other farms with similar results? * Do other breeds of goats prefer to drink water from yellow buckets? * WHY do they prefer to drink from yellow buckets? My personal interest in research and my contact with other breeders who conduct small research studies on their own farms has prompted me to add a Think Tank forum to our website. There is much to be done in the areas of behavioral, nutritional, medical (particularly parasite management), and genetic caprine research. I have posted the procedural steps for data collection for the Yellow Bucket Study under the Behavioral Study forum. I will continue to build topics of interest within the research forums and introduce new research studies for discussion. Please feel free to develop new topics within the forums. I hope you will consider supporting and participating in this effort! See you on the forums! ~Erica 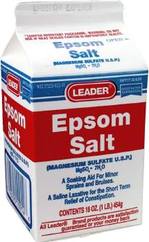 Supplies Needed: Epsom Salt Water 1 Quart Ball Jar with Lid & Band Procedure: 1. Fill the ball jar 2/3 full with water. 2. Add Epsom Salt. 3. Fasten lid and band on jar and shake well. 4. Over a 24 hour period, keep adding epsom salt and shaking well until a permanent layer of salt resides on the bottom of the jar. This means that the solution is completely saturated and no more salt can dissolve in the water. 5. Pour off the liquid into another container, leaving the layer of salt that will not dissolve. Your solution is now ready to use! A fecal exam is the preparation and inspection of fecal matter for organisms, and parasites. Many goat breeders run their own fecal exams on their herd to confirm the presence of parasites and select the proper treatment for the organism. There are many advantages to procuring a microscope and the supplies to conduct this simple test. The first is concerning cost. A fecal exam at a veterinarian or other laboratory can cost anywhere from $7-$15 per sample. If you have a very small herd, it might make sense to use an outside source to run the test, however, as herd size increases, it might make more sense to buy a microscope and run your own fecal exams on your herd. A good microscope and supplies for running fecal exams can cost several hundred dollars, but when compared to what a breeder would spend in lab fees to examine the entire herd, the upfront cost is recovered quite quickly. The second advantage to running your own fecal exams is in regards to time. Different laboratories vary in the time it takes to receive results but generally, if you send a sample in for examination the turn around time is overnight. Conducting your own fecal examinations allows you to obtain instant results (after prep time) and allows the freedom for you to retest as often as you would like. Once your initial investment is satisfied, the only consumable material for the testing is the salt solution, which can be restocked at home for pennies. (Epsom Salt + Water) The kit we bought for our farm was obtained from maggidans.com http://www.maggidans.com/kte.htm The Deluxe microscope has a mechanical stage so that you do not have to move the slide in order to examine it. It also has a rechargeable light. This kit also comes with supplies to run several other advanced tests, and a handy guide to identifying different types of organisms and eggs. I highly recommend this kit, which is priced at $184.95. In this tutorial, we will discuss the process for preparing and examining a simple fecal sample using the Deluxe kit from Maggidans. I will also be discussing other ways to prepare samples for examinations using other supplies. Let's get started! First, let's discuss collection of the sample. The most efficient way to collect a "clean" sample is to go in and get it. This method ensures that the sample is not contaminated by outside factors. I use a surgical glove and some lube or soapy water for lubrication. Insert a gloved and lubed finger into the anus of the goat and pull out a couple of berries. Don't worry, this is not an exploratory mission. The berries will be right there and you do not have to go look for them. You only need two or three berries for a good sample. I put the sample directly into a plastic bag that has been labeled with the goat's name. Tip: When collecting a sample, I always have the bag ready for collection first before getting the goat. Once you put the goat on the stanchion, wait a few minutes before "going in." In my experience, the goat will usually eliminate before you have to go in and retrieve. It's especially effective if you sweep (and mop!) the area under the stanchion first, because we all know that goats just LOVE to dirty a clean floor. HA! If this happens, simply open the baggie and let some poo drop into it. Next, let's discuss supplies. You will need the fecal sample, a microscope, an eye dropper, a slide, a cover glass, some fecal flotation solution (saturated salt solution) and a prep chamber. The Maggidan's kit comes with a little container (the fecalyzer) that makes it easy to prepare the sample, but there are other things you can use to prepare it, for example, a plastic souffle cup, a popsicle stick, and a test tube or similar thin tube-like container. The "fecalyzer" container basically does two things. One, it breaks up the sample and stirs the salt solution into it to liquify the feces. Two, it creates a surface to apply a coverslip and collect any eggs from the sample. Method: 1. The first thing you need to do is to break up the feces in the bag. Use your fingers to tear up the berries through the bag, and break them into smaller pieces.This makes the liquification process easier. 2. Insert the green insert of the fecalyzer into the plastic bag and collect some feces in the small end of the fecalyzer insert. Do not pack the feces into it as that is counterproductive. The goat is to break up and liquify the feces, so keep it loose within the collection chamber. **If you do not have a fecalyzer, it is at this point when you can break up the feces and put it into a plastic souffle cup. 3. Place the green insert back into the fecalyzer container with the sample to the bottom of the container. Add two droppers full of the fecal floatation solution to the container to start to dissolve and stir the sample. The fecalyzer has an arrow on the side of the container. This is the initial fill level of the container. **If you do not have a fecalyzer, it is at this point when you should add the floatation solution to the souffle cup and stir and mash the feces with a popsicle stick or other utensil to liquify it. 4. Seat the green insert back into the fecalyzer. Twist the green insert back and forth in the fecalyzer to stir and break up the sample. The insert has a stop in the end, so it will only turn 180 degrees in each direction. Let the sample sit for five minutes after twisting and then twist again to ensure it is mixed well. If you carefully lift the basket, your sample should look like muddy water. You may also see some solid plant material floating on top. The fecalyzer has a strainer basket on it that keeps some materials from rising to the top , so if you are not using the fecalyzer, you can use some cheesecloth or a tea strainer to strain the debris out of the sample before examination. Some debris in the final sample is to be expected. 5. After the sample is mixed well, and appropriately liquified, it is now time to transfer the sample and prepare it for examination. With your eye dropper, add enough saline solution to create a meniscus (a bulge of water that extends up over the edge of the container). Be careful not to overflow the sample, but make sure you have enough so that it creates a convex surface for the slide cover to rest on. Once you have a meniscus, carefully place a slide cover glass on top of it. Letting the sample sit will allow parasites eggs (which are lighter than the saline solution) to float to the top. The eggs will rise to the top over the next 15-20 minutes and will get stuck on the glass. This will become your sample for examination. ** The fecalyzer is the perfect size for collecting the eggs onto a slide cover as the lip of the basket is just smaller than the cover glass. If you do not have a fecalyzer, use a test tube instead. Create the meniscus over the lip of the test tube, and float the cover glass on the meniscus. 6. After 15-20 minutes, you are now ready to transfer your sample to the slide. Lift straight up as not to disturb any eggs which have collected, and place it wet side down onto a slide. Give the cover a little tap with your finger, and the liquid should spread out between the slide and the cover. As I said before, some plant matter and debris is to be expected. The amount of debris present could make the cover unable to seat to the slide. To fix this, take a little of the top most fluid in the sample and deposit a drop of two at the side of the cover glass. This will create enough liquid to seat the cover to the slide. 7. Now you are ready to examine the sample for parasite eggs. Carefully move the slide and place on the stage of the microscope. You should use the 10X lens for your initial examination. On the Deluxe microscope from Maggidans, that is the yellow striped lens. Make sure you have ample light coming through the diaphragm below the stage. To adjust the light level you can turn the dial on the base of the microscope (more light is needed for higher magnification). 8. Next you want to focus the lens. Below you will see the proper focus for the examination of the sample. You will surely see many small perfectly round air bubbles in the sample. Do not mistake them for eggs. If the object is perfectly round, it's air. Parasite eggs are oval. This is the level you want to focus on (the area right under the cover glass), so adjust the focus so that you can see a black circle around the air bubble with a clear space in the middle as shown below. 9. I always start my examination by locating the lens at the upper right corner of the cover slide. You can easily see the edge of the cover glass through the microscope to start your exam. There are two small knobs on the Deluxe microsope. One moves the stage up and down, and the other moves it left to right. It takes some practice to master this process, since it works like an etch-a-sketch, and everything is backwards when viewed through the scope. Sweep the entire sample working up and down and from right to left. Try to overlap your passes through the exam so that you don't miss anything. You will see many interesting things in the sample. There will be alot of plant matter (hay), air bubbles, curly looking fibers (also hay), and perhaps some salt crystals (which have edges and are angular). If your sample starts to dry during exam, you might see some very long thin looking salt crystals, that grow like frost. If it inhibits the view too much, start another sample. If you think you might see a parasite egg, but you are not sure, switch to a higher magnification (40X) and let in more light on the dial and try to focus on the nucleus of the egg. There are many different kinds of parasite eggs that you might find, but the most common and greatest threat will be coccidia and Haemonchus contortus (Barberpole). Coccidia is a protozoa that can affect any animal, and the first symptom is usually diarrhea (sometimes bloody.) Coccidia must be treated promptly or it can cause death. Many breeders (us included) have been battling the barberpole worm (Haemonchus contortus) in our herds. This worm is resistant to most ordinary parasite treatments, and must be tackled with a specific regimen to eradicate it. Chances are...if you find an egg, it's probably the barperpole. Barberpole worms are blood sucking stomach parasites that can cause edema and death if not properly treated. Your best chance to identify and fight the barberpole is by managing your herd using FAMACHA testing (FAMACHA tutorial coming soon!), rotational pasture management, switching types of dewormers, and conducting fecal exams when parasitism is suspected. The treatment for the Haemonchus contortus varies by animal, and as I am not a veterinarian, I will not discuss or endorse the specific treatment of it here. However, I am always here to help in any way I possibly can, and I am always willing to recommend suggestions for seeking further information. If you have a question regarding the care or treatment of your herd, please feel free to contact me.
I hope you enjoyed this tutorial, and I hope that you learned something from it. I will be adding the tutorial on FAMACHA testing very soon. Stay tuned! |
Click below to view
Twin Willows Herd 24/7 Livestream 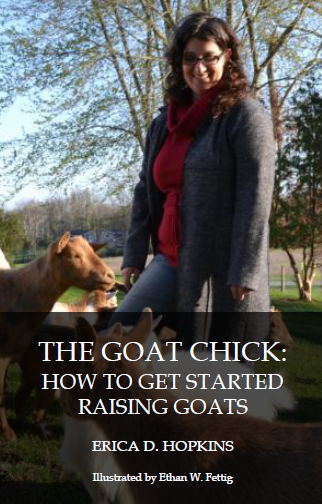
How to Get Started Raising Goats
by Erica Hopkins $9.99
Paperback or Kindle Reg Price $14.99 Welcome to
|







 RSS Feed